Planning a Sunday brunch or headed to the club with your girls? This weekend flaunt five DIY nail art designs.
by Deepa Mistry
Women love to dress up and there’s no way we like to leave our nails looking bare and unstylish. Nail art manicures are amazing, especially if you get them done from a professional nail art studio, but they cost a bomb, which is why I prefer to do my own nail art at home.
If you haven’t found the time to rush to the parlour for a manicure or pedicure, don’t panic yet because we’ve got the 5 best DIY at home nail art ideas. Express your personality with some fancy nail art which will add flair to your elegant outfit. While there is no need for total accuracy, some things to remember are:
– Don’t colour outside the lines. You can touch up any excess nail polish with a Q-tip or a cotton bud.
– Your nail art tools include some nail polish – a base coat to prevent discolouration of nails, a colour coat, and a top coat for lasting purposes – and a handful of other items such as stationery tape, bobby pins and cotton buds.
Try these five nail art techniques:
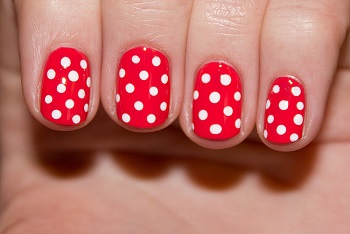 Dotted nails: Wipe out all the old nail polish before you start. Shape your nails well. Start with a base coat. After applying a base coat, apply a coat of white nail polish. Make sure the shade you have purchased is opaque and not transparent. This will allow the bright colours to stand out even more. After these two coats are dry, start painting dots at the base of the nail in a straight line with the help of a toothpick or a bobby pin to get perfect round dots. You can use colour combinations like pink and blue, red and yellow or green, pink and purple. Once dry, apply a final coat of transparent nail polish for long lasting colour.
Tip: Base coat nail polish is specially formulated to smooth out the surface of your nails, thereby giving the polish an even surface to stick to. It also helps prolong the life of your manicure while protecting your nails from getting stained.
Glitterati: Start with the same base, then apply two coats of black nail polish. Once it dries off completely, place a strip of stationery tape at the base of your nail with a curved tip leaving only the top half exposed. Start with a glitter nail polish- gold, silver or mix and you will have a half moon with black and glitter.
Tip: Always apply two coats of any shade instead of one as the nail polish will last longer
Ombre: Ombre nails are a type of manicure in which a gradient effect is created (see pic below). A light colour on the bottom of the nail gradually blends into a darker colour toward the tip. You will 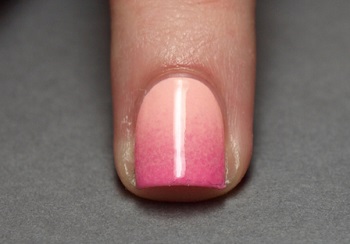 need three different neon shades of nail polish, sponge and scotch tape. Start with a base coat, then using the small end of a makeup sponge, paint three colours side by side. You could opt for pink, orange and yellow or try two colours, green and blue. Opt for vibrant colours as they stand out. Stamp the sponge onto your nail and press it over and over, slightly moving it up and down your nail to blend the colours. Stamp all your nails and wait for them to dry. Don’t worry about the nail polish on your skin. Once it dries, dip a cotton bud in acetone and wipe your skin to remove excess nail polish.
Tip: Soak the make-up sponge in water and drain it, leaving it damp but not wet. This will prevent nail polish from drying off faster on the sponge.
Bling it on: Start with the base coat, apply a pastel shade of nail polish on each of your nails, two coats each. Once it dries of completely apply a bright shade or a glitter one only on your ring finger. Add some accessories and carry it off with a chunky ring or a cuff and you’re set for the day! Try the new Sally Hansen range of crackle nail polish; do not apply to bare nails, apply two coats of your favourite nail colour. Once dried, add a thin or thick coat (depending on desired effect) of any Crackle Overcoat shade.
Tip: Do not leave the bottle open, close tightly when not in use.
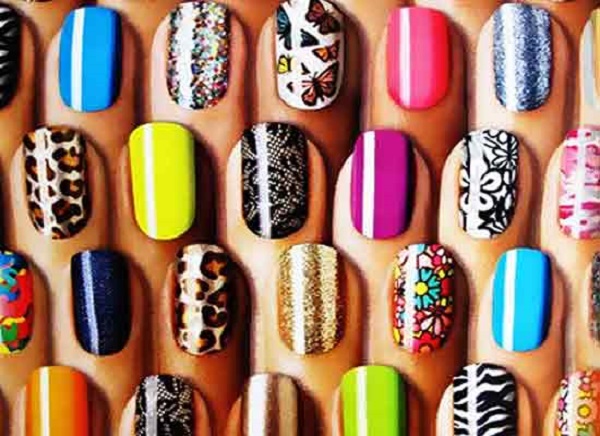
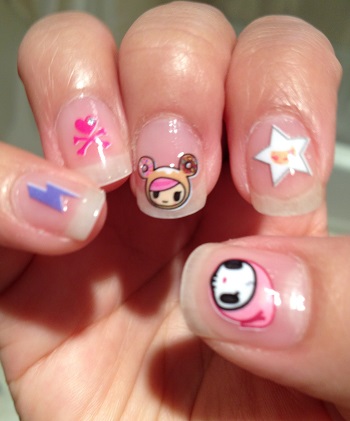 On the go: Nail art stickers are easily available in the market too these days, L’Oreal Paris has a wide range to choose from with some outstanding bold prints which are a must-have for this season. Faces Canada also offers you artificial nails with ready nail art on it – just apply glue, stick them and voila! These days, stamping tools and stickers are available at any store, but always make sure you buy a well-known brand of nail polish as cheaper ones damage your nails.
(Pictures courtesy www.stylecraze.com, nailitblog.tumblr.com, www.glamour.com, www.oh-elle.com)